The secret? Spray paint.
My sister Kaitlyn is the master crafter. She’s refinished so much furniture in her apartment. Here’s her most recent project.
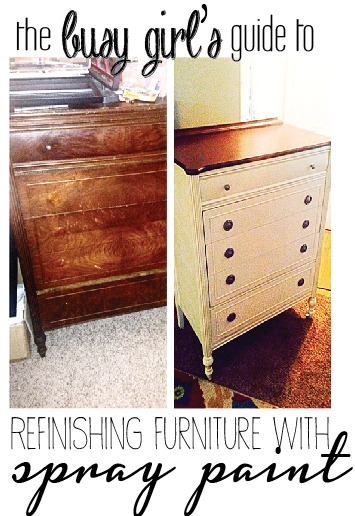
Here’s Kaitlyn with her step by step tutorial.
Hey guys! I’m really excited to share what I did with this project because not only has it been a while since I’ve done a furniture re-do, but this is also one of my favorite pieces I’ve ever refinished. I refer to myself a “lazy crafter” because I never do a project that takes long… keywords here are spray and paint!
{What you’ll need}
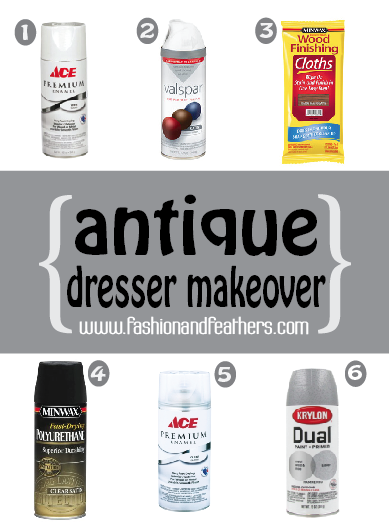
1. Ace Premium Enamel White Primer for wood or metal
2. Valspar The Perfect Finish Satin White
3. Minwax Wood Finishing Cloths in Dark Mahogany {and gloves to keep your hands from getting stained!}
4. Minwax Fast Drying Polyurethane Clear Satin
5. Ace Premium Enamel Clear Gloss for wood or metal
6. Krylon Dual Paint + Primer Hammered Silver Finish for metal, wood & more
{Step 1}
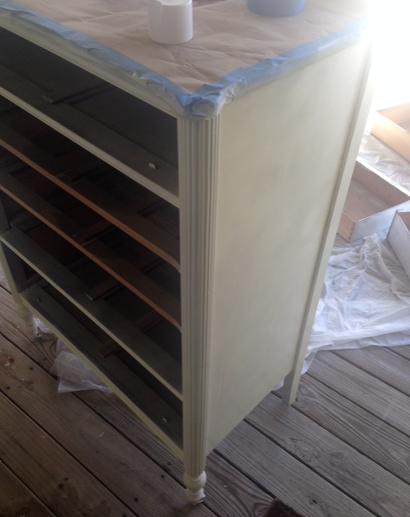
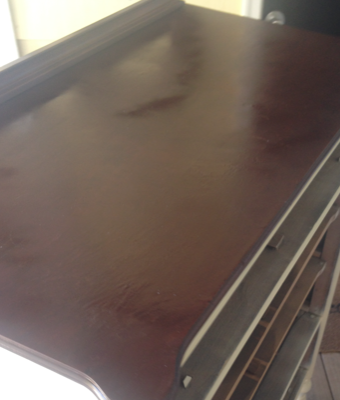
Because I wanted the top to remain a dark color, I covered it with brown Kraft paper and used painter’s tape to hold it down while I continued with the next steps.
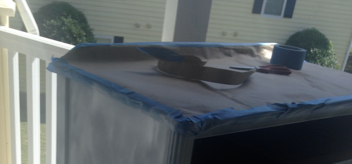
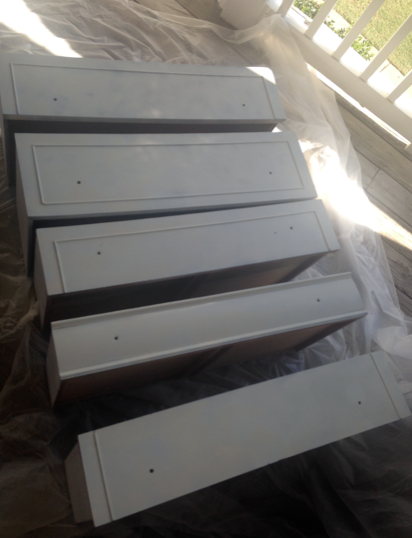
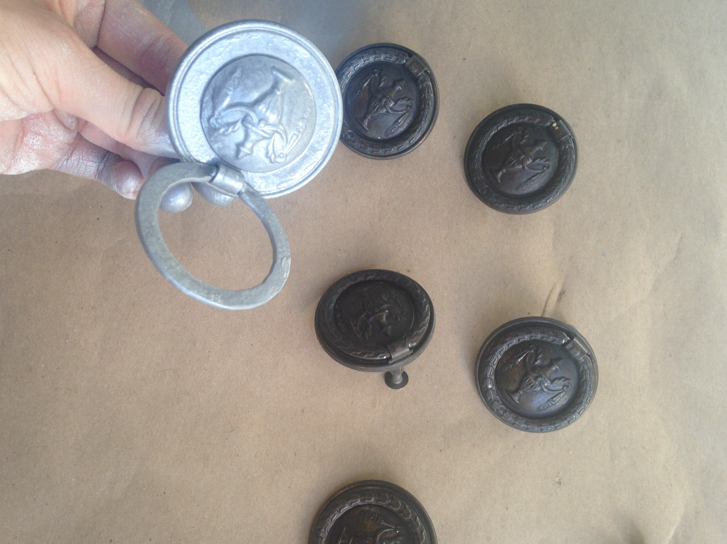
Take all hardware off.
{Step 2}
Spray the dresser with primer. Let it dry {it only took ten minutes out in the sun} and then spray again with a second coat. When you’re going from dark to light, you want to make sure you have really good coverage.

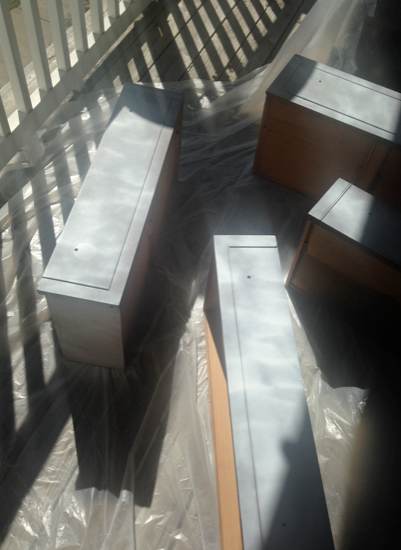
{I didn’t have to sand the dresser because mine was in good enough condition. If yours is glossy, you may have to sand because the primer won’t stick to it as well.}
{Step 3}
Spray the dresser with paint. Follow the same pattern as step 2 with primer. I did two coats, letting it dry for 10 minutes in between.
{Step 4}
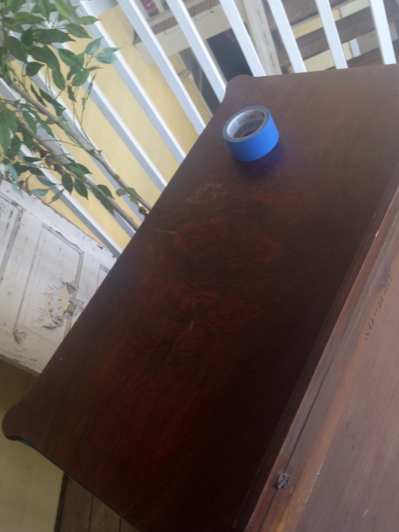
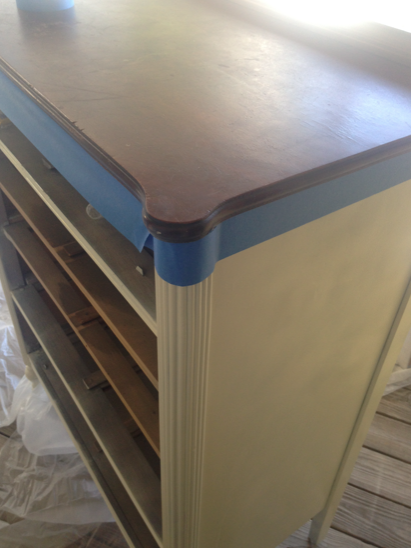
Now we’re ready to focus on the top of the dresser. I took the tape and brown paper off the top and taped directly underneath the top with the tape along the sides of the dresser.
Staining wood intimidates me because I don’t want to end up with a jacked-up finished product. I used Minwax Wood Finishing Cloths because I had used them leftover from another project.
Make sure you have the gloves on for this step! Wipe the stained cloth in small sections, going behind it with a clean rag to remove the excess stain. This rag needs to be one you don’t mind tossing at the end of the project. The more stain you wipe off, the lighter the stain. I tend to leave mine dark. I wanted a contrast between the light body of the dresser and the dark top.
{Step 5}
Spray the top with polyurethane. Make sure you don’t get this on the paint because it will alter the color.
Take the tape off and spray the rest of the dresser with clear gloss enamel.
{Step 6}
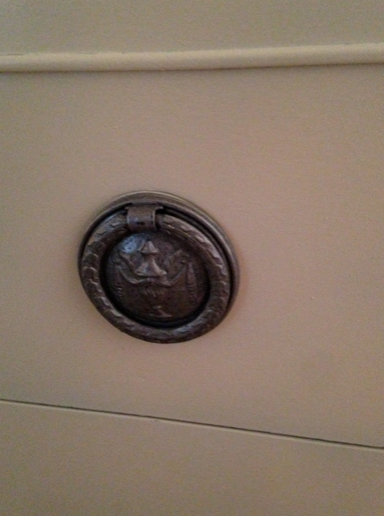
Spray the hardware with silver paint and let dry.
And that’s it. I seriously did this entire project in less than 5 hours. And that included going to the store to pick up supplies… twice!
How great is she? I would be so intimidated to try a project like this. But her’s looks SO good! Thanks for sharing your project with us, Kait!
Here are a few other busy girl’s guide posts.